Friday, February 4, 2011

who doesn't love fresh flowers?


image credit


one of the best things about attending blissdom last week was meeting all of the other awesome bloggers.
one of the lovely ladies i met is krista. her blog is called hope in the waiting. she is a beautiful writer and is totally open and honest about the ups and downs in her life. she also writes a tuesday's tip series that i love! 

her latest idea is called operation project vase. her challenge to her readers is for each friday in february to take a vase you're not using around your house, fill it with fresh flowers and take it to someone who you want to show appreciation for or to someone who needs a little pick me up. 

i personally love having fresh flowers in my home and would be SO happy if someone just randomly showed up with such a treat (uh.....hint, hint hubby....). i knew immediately that this was something i wanted to do.

soooooo, back at the beginning of the school year, i signed up to take lunch to my son's kindergarten teacher today. this is something we parents do for her once a month to show her how much we appreciate her for loving on our kids and teaching them so well! she actually taught my daughter last year too. she is amazing and i have been so lucky to get to know her over the past 2 years.
thinking about operation project vase, i knew Mrs. CC would be my first recipient.

i didn't have any extra vases around my house because i usually take them to goodwill or chunk them in the trash to save room in my cabinets. however, my husband has a slight obsession with mayhaw jelly and orders it by the case (that's a post in and of itself, really...)
so i used a jelly jar as my vase.
LL (that's what we call my 3 year old) and i ran to the grocery store and bought a small bouquet of roses and wildflowers. then we picked up Mrs. CC's lunch and headed to the school.

now, here are some tips, if you wait till the last minute to get this together and have to assemble it in your car (like i did).  
1. be super careful or you will spill water all down the front of your clothes and break some flowers while trying to balance the vase on your knee.
2. try not to do this project with your 3 year old. she could not understand why the flowers weren't going in her room at home. (i ended up keeping out a few of the sprigs for her.)

we met Mrs. CC on her way to a meeting and gave her lunch and her flowers. she loved it and even brought the vase to her lunch meeting to share with the other kindergarten teachers. 

here's a quick snapshot i took of her on her way to the meeting:


she said "really? you're going to blog about this?" 
i told her of course i wanted to share how awesome we think she is!

so there you have it. my first operation project vase mission complete. who will be next?

thanks for the awesome idea, krista! 

i'm linking the story up to her site. spend some time there and get to know krista. she's awesome!


Monday, January 31, 2011

and now back to our regularly scheduled programming...

wow, i was beginning to think that i hated the month of january. like, really hate it......

today is the first day that i have felt like our family is back in their routine since the kids got out of school for christmas. 

let me just tell you guys, i struggle staying organized even when i am in a routine. 
so when that routine gets thrown out of the window, i'm pretty much lost.

after 2 1/2 weeks of christmas break, we have seriously not had an entire week of school here in middle tennessee because of "snow days". to all those north of our great state, our kind of snows would be a blip on their radar screen. but because we are the south and totally unequipped to deal with even a dusting of fluffy white flakes, all things must come to a complete halt. 
(seriously! i was with some friends at dinner on a thursday night and got kicked out of the restaurant at 8:45!) 
and don't even think about your kids going to school!!!

don't get me wrong, i am a slacker at heart, so the sleeping late, wearing pjs all day, and getting to really play with my kids has been awesome and all. but i've been so busy doing all of those things, my house is a wreck, my refrigerator is empty and there is a lot of catching up to do. and let's just be honest, when you get stuck in one of those lazy cycles, it makes it even harder to get motivated to do ANYTHING AT ALL!

and then i found my bliss! 
last week i was privileged to attend a fantastic conference called blissdom.
blissdom is a social media conference for (mostly) women and it was a big ole kick in the seat of my pants.
i learned so much that my brain literally felt like scrambled eggs. blissdom was full of women who do it all. work out of the home, take care of kids, blog, run a business from home, write books, etc. and look great while doing it all.

i was able to hear two amazing keynote speakers, brene brown and scott stratten.
to me, they were worth the cost of  admission alone.

then there were all of the sessions. being a newbie, i found all kinds of valuable information in most of these panel discussions. i even learned a lot just sitting around and talking to those women who are veteran bloggers. i found most people were happy to talk to me and answer all of my questions like "what is a twitter handle?" and "SEO? huh?"

of course, as with anything in life, there were moments i felt awkward and situations that were less than ideal, but i kind of went into this conference with an open mind, ready to take it for whatever it was.
it definitely helped to have the most awesome "wing mom" to always be able to turn to if things got a little weird.
alethea, i could not have done it without you!!


overall, blissdom was pure bliss for me and i can't wait for next year!

and it happened in january....

i think maybe i'll give january another chance....

Monday, January 24, 2011

blissdom... here i come!

Blissdom Conference ~ Nashville ~ January 26-28, 2010


this wednesday i am stepping out of my comfort zone....

my awesome bloggie friend and i are attending the 2011 blissdom conference in nashville at the opryland hotel.
this year's slogan is "think big. be bold. create your bliss." 
well, i don't know about you, but i sure could use a little of all of that in my life.

i am a total newbie to this blogging thing and i have never really been that much of a writer, so it is very probable that i will be the most inexperienced person there.

i am super scared but really excited.

wait... let me say that again... i am SUPER SCARED but really excited!

i swear thinking about meeting a lot of the bloggers i've followed for years gives me
puffy hives and giddy butterflies all at the same time.

the truth is, i have a lot of ideas for my blog but i constantly struggle with self doubt.
(i'm a teeny bit of a perfectionist...)
 what if my ideas stink? what if no one cares? will i look foolish?

however, from what i've read, many of the bloggers whose ideas i love have felt the same way.

so that's why i'm stepping out of my warm, comfy nest at home and putting myself out there to meet some new people who know more about blogging than i do.
i look forward to learning all that i can possibly absorb in those 3 days.
i am challenging myself to think big, be bold, and create my own bliss.....

and i can't wait to share it with you!

Friday, January 21, 2011

burlap banner - day 12 of the crafty days of christmas (very, very late!)

so, here's the last craft for the 12 crafty days of christmas series.
a burlap banner.

a couple of years ago, i purchased this awesome nativity scene. it's white and glittery and i absolutely love it. however, there is a big, blank space of wall over the place where i display it.
it desperately needed something over it.


don't you agree? so i decided to make a burlap banner displaying the reason for the season,
the name of our Savior, Jesus.
i've seen many burlap banners on the web made many different ways. here's what i used...


brown burlap
unbleached muslin
gold metallic paint
gold leafing pen
fabric glue (you could also use hot glue)
decorative ribbon
and flat thumb tacks

first, i cut five squares of muslin about 3"x3"; one for each letter. then i painted a letter directly onto the muslin with a flat paint brush and my gold metallic paint. i freehanded my letters but you could also stencil the letters if that makes you feel more comfortable.

after the letters were dry, i rounded the corners of my squares and used fabric glue to glue them to my burlap. i then cut the burlap out leaving about an inch of burlap showing around the muslin and rounding off the corners on it too. 

once i had all the letters cut out, i evenly spaced them on my beautiful decorative ribbon i got in the trim section of joanns and hot glued them in place.

to secure the banner to the wall, i took flat thumb tacks and painted them with the gold paint pen.


here is the final banner!


it was just the kind of vintage touch i was looking for.
 it wasn't up very long before i had to put all of my christmas stuff away, but i look forward to putting it up again next year!


Thursday, January 20, 2011

please accept my apology

hi guys.

i owe you a tutorial... and it is coming tomorrow.

i am so sorry that i am so late... i just have to let you all know that the last few weeks have kicked my butt.

totally, completely, and without mercy KICKED MY BUTT!

i had every intention of posting my last tutorial on christmas day, but i was totally wiped after an exhausting week preparing for the holiday.
then, my intention was to post it before the new year, but we had family in town and i found out that i'm not a very good blogger when i have extra people in my house.
then, after my family made their way home, my mom had a very serious health scare.
(she's doing much better now, praise God!)
once i was able to sort of recover emotionally from dealing with that, we had 4 snow days which means ALL of my kids were in the house for four days begging to be entertained.

all of this is to say, i'm new to this blogging thing 
and i've learned how easy it is to plan to write about something,
but to actually find the time to do so is very challenging.  
especially with all of the curve balls that have been thrown at me lately.

so please, please, please forgive me and come back tomorrow to check out the last tutorial for the 12 crafty days of christmas.

 look at it this way, you'll have 338 days to get it done for christmas 2011! :)

Saturday, December 25, 2010

day 12 of the crafty days of christmas - to be continued...

ok, i don't know what i was thinking.

today has been a wonderful day filled with family time and having fun.
i thought i might have time to squeeze in typing up a tutorial, but playing strawberry shortcake with my girls and dragons with my boy (and maybe a tiny nap) has taken up my whole day.
so i'm postponing my 12th day of crafts until tomorrow. (forgive me please!)
don't worry though, it's something that you could use all year round...

merry christmas to you and your families.

i pray that you all have had the blessing of spending a joyful and fun-filled day with the ones you love.


Thursday, December 23, 2010

button snowmen - day 11 of the 12 crafty days of christmas

has everyone been spending today getting ready for all of their holiday celebrations?

i have been cooking all day for a big party we are hosting at our house tomorrow,
 so today's craft is a quick and easy one.

i love searching crafting blogs and websites and somewhere i saw a craft that used buttons to make snowmen on the front of christmas cards.
i can't for the life of me remember where i saw them, but i thought i would take that idea and make something from it.

here is what you need..

white buttons in three different sizes (with 4 holes)
colorful felt
fabric fusion (fabric glue)
orange and black embroidery floss

 first, take one button of each size and glue them to your colored felt as pictured below.


next, trim around your snowman.


now, take 3 strands of the orange floss and sew across the bottom 2 holes of the top button to make the carrot nose. 
then take 3 strands of the black floss and tie knots in the holes pictured below for the 2 eyes and the 3 coal buttons. 
i had to tie several knots with the black floss to get them to stick out over the button.


cute little snowman, huh? 
i think i will be gluing mine to a barrette for my sweet little girl's hair.
it would also be a precious addition to a gift for someone special.

just one more day to go....

because of my family's get together tomorrow, i will be posting day 12 on christmas day.
so once your presents are open and you've eaten your fill of turkey and dressing, come back to check it out.

until then, i hope everyone has a very merry christmas!

Wednesday, December 22, 2010

"ho ho ho" t-shirt - day 10 of the 12 crafty days of christmas

so, skirts for the girls.... now a fun appliqued christmas t-shirt for my boy.

it can be really hard to find cute holiday shirts for older boys that don't look babyish.
the best way to get around this is to create one yourself.

here is what you need:


a plain t-shirt (i'm using one from target - affordable and well made)
coordinating fabric
steam a seam
thread (optional)
sewing machine (optional)

my idea was to do a shirt that said "ho ho ho" across it. i had a cricut cartridge called "robotz" that had a really cute font so i just cut an "h" and an "o" about 3 1/2 inches tall to use as my template.
you could also find a font you like online and print it or sketch the letters yourself.


when you have cut your template letters, then you are going to trace them onto a sheet of your steam-a-seam. the important thing to remember about this step is to trace your letters backwards because they are going to be ironed on to the back of your fabric.


next, cut the steam-a-seam around your letters but leave some space around them. 
this makes it easier to cut your letters out of the fabric because you can still see your tracing lines.
then, iron onto the BACK of your fabric.
(follow the instructions on the steam-a-seam packaging)


when that has cooled, cut out your letters.


and peel off the backing.


next, you will place your letters onto your shirt. the great thing about steam-a seam is that it is a little bit tacky on the back so you can place your letters, hold it up and look at it, and then replace them if you need to.


when you are happy with your letter placement, then you will iron your letters onto your shirt. 
(again, follow the instructions on the package.)


if you are not comfortable sewing, you could stop here and you would have a very cute shirt. 
the steam-a-seam will hold the letters on permanently.

i like to add the stitching around the letters because i think it gives it a nice finish.
if you are new to sewing, give it a try!
it's easier than it seems.
i promise!


here is my handsome man in his new christmas shirt!


"he had a broad face and a little round belly, that shook when he laughed, like a bowl full of jelly...."
ho ho ho! :)

Tuesday, December 21, 2010

christmas skirts - day 9 of the 12 crafty days of christmas

ok, this is for all of my sewing friends. 
and really, even if you think you can only sew a straight line, you can totally do this project!
because that's basically all it is. 
four straight lines of stitches with your sewing machine or serger.

This is what you will need:
about 1 to 1 1/2 yards of fabric
sewing machine or serger
coordinating thread
one package of 3/4 inch elastic
safety pin
iron and ironing board

first, decide about how long you would like your skirt to be.
i wanted my 7 year old's skirt to be around 15 inches long. so i took that number and added 4 inches to account for the hem and the amount to be turned over at the top to hold the elastic.
 then i cut two strips of fabric the entire width of the fabric (44 inches) that were 19 inches long.
i also trimmed off the selvage on each edge.
(that's the part of the fabric that has the manufacturers information printed on it)
one strip will be the front of the skirt; the other will be the back of the skirt.

can you tell i love this fabric!!!

next, place the right sides of the fabric together and match up the pattern if needed.


i used my serger for this project, but you can just as easily use your sewing machine.
the only reason i opted for the serger is that it leaves a finished edge on the inside of the skirt. 
believe me, i have made plenty of these skirts with a sewing machine and they turn out great!

so, once you have your two pieces matched up, you are going to sew two straight lines on each short side. you can really use any seam allowance. I usually go with 1/2 inch if i'm using my sewing machine.


so that's two straight stitches down...two more to go.

now, if you have a serger, go ahead and finish off the top and the bottom of the skirt like the picture below.
if you are using a sewing machine, you can just skip this step
or you can iron down about 1/4 inch of the fabric all the way around the top and the bottom of the skirt if you would like to have a finished edge inside the skirt.


next, you are going to iron your fabric down about 1 1/4 inch at the top
to make the pocket for the elastic to go in
and iron about 1 to 1 1/2 inch of fabric up from the bottom to make the hem of the skirt.


after you're done ironing, you will stitch the top and bottom of your skirt to secure your elastic pocket and your hem.
VERY IMPORTANT: remember to not go all the way around the top. leave yourself a little space to pull your elastic through. 
(see the picture below.)


ok, we're almost done!
measure your little girl's waist and cut a piece of elastic about 1- 1/2 inch larger. 
then, attach a large safety pin to one end.


thread your elastic through the pocket at the top of your skirt.


now we need to sew the elastic together. change your stitch type from straight to zig zag.
then sew your elastic together. 


i like to go back and forth a couple of times in an "n" shape just to make sure it doesn't come undone.
it doesn't have to be pretty! it will be hidden by your fabric!


once that's done, just place your elastic in the pocket and close up the opening for the elastic with your sewing machine.
when that is finished, even out your fabric around the elastic and you're done!!!

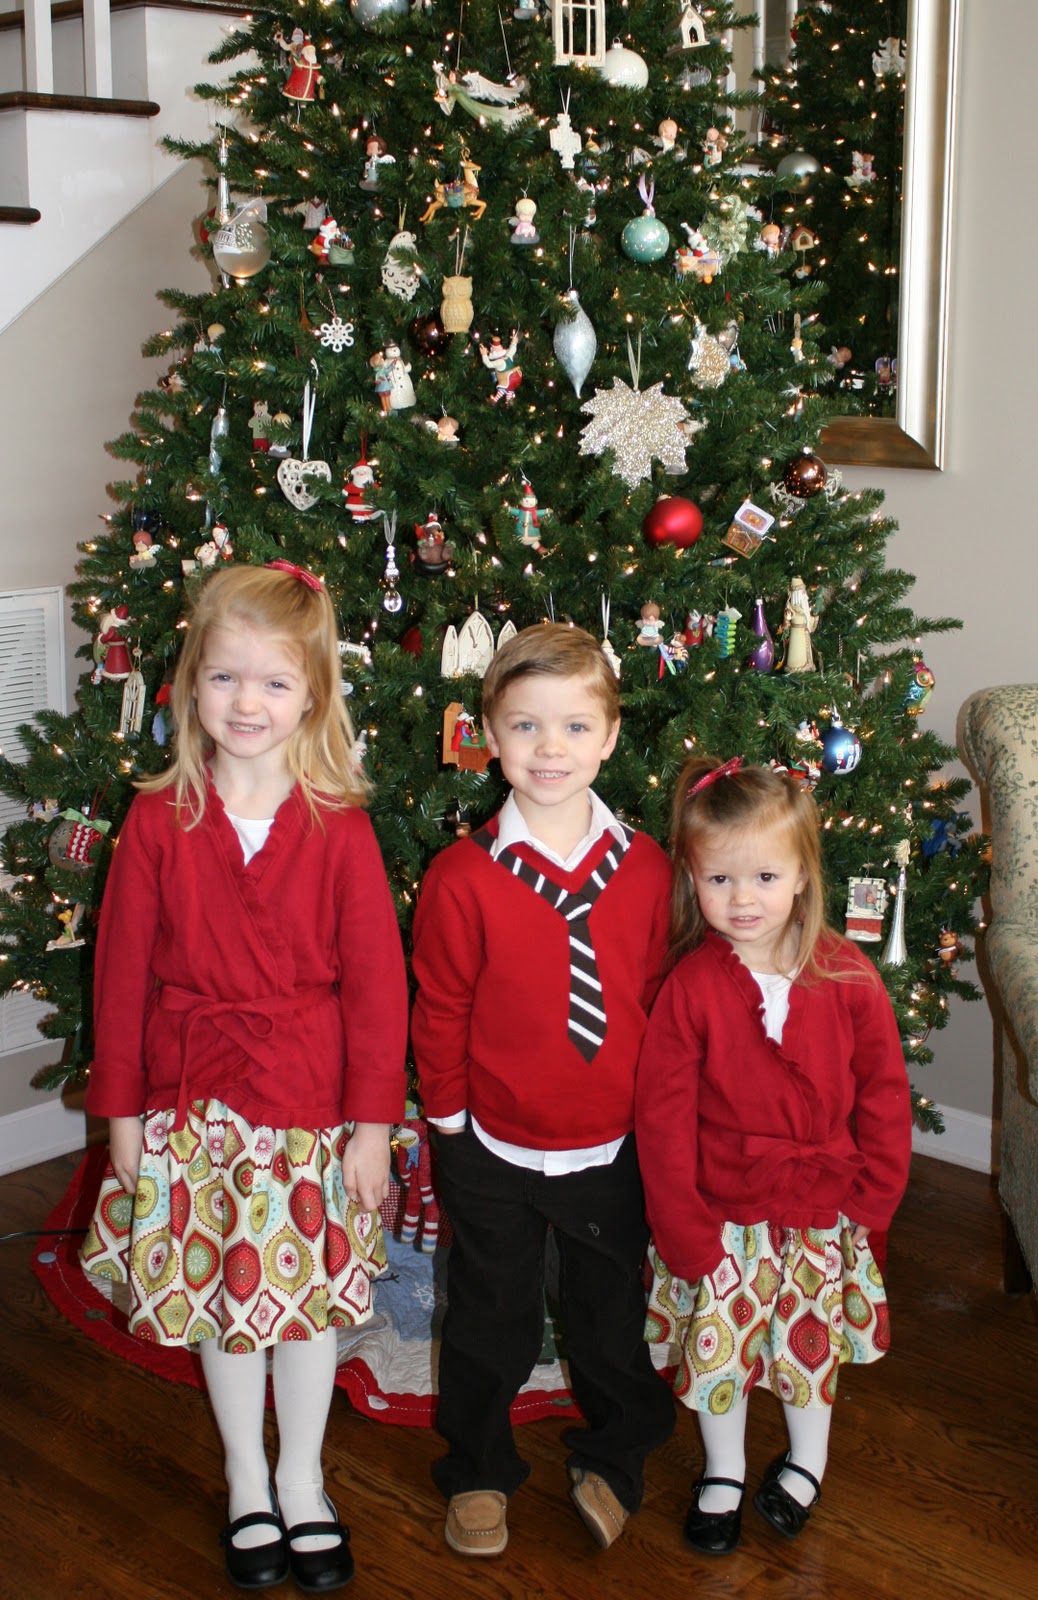
here are the ones i made for my girls. 


and here are my models!


and i couldn't leave my boy out so tomorrow i'll sew up a  little something for him!

Sunday, December 19, 2010

ornament gift tags - day 8 of the 12 crafty days of christmas

i'll let you in on a little secret....i'm a procrastinator.
a life long procrastinator...
so that usually means i'm wrapping presents for christmas on christmas eve. lots of them.

i've always loved beautifully wrapped presents with gigantic bows and pretty gift tags, but when you're in a frenzy wrapping presents the night before, little sticker tags are about all you can pull off. 

this year, i thought it would be nice to make some gift tags BEFORE my last minute wrapping session so at least i'd have that element on the gifts. 

maybe i'll work on adding the bows next year... :)

here is what i used.


my cricut (this is what i used to cut my shapes because it is faster, 
but you could use a paper punch or hand cut them too)
pretty paper
glue
twine
and a thin sharpie.

i cut 1 1/2 inch squares with some curved edges out of tan cardstock to make the top of the ornaments and 3 inch circles out of different colorful paper for the ornaments.


then i folded the squares in half and drew some thin black lines on the front to look like the top of the ornament.


i then cut a small slit in the fold of the ornament top.
i cut a piece of twine about 8-10 inches long and thread both ends through the hole.
after that i glued the inside of the ornament top.
i placed the circle inside and then press closed.


pretty simple once you get all the pieces cut.
and really cute!

i think these will look great on my presents this year!!!