Wednesday, December 22, 2010

"ho ho ho" t-shirt - day 10 of the 12 crafty days of christmas

so, skirts for the girls.... now a fun appliqued christmas t-shirt for my boy.

it can be really hard to find cute holiday shirts for older boys that don't look babyish.
the best way to get around this is to create one yourself.

here is what you need:


a plain t-shirt (i'm using one from target - affordable and well made)
coordinating fabric
steam a seam
thread (optional)
sewing machine (optional)

my idea was to do a shirt that said "ho ho ho" across it. i had a cricut cartridge called "robotz" that had a really cute font so i just cut an "h" and an "o" about 3 1/2 inches tall to use as my template.
you could also find a font you like online and print it or sketch the letters yourself.


when you have cut your template letters, then you are going to trace them onto a sheet of your steam-a-seam. the important thing to remember about this step is to trace your letters backwards because they are going to be ironed on to the back of your fabric.


next, cut the steam-a-seam around your letters but leave some space around them. 
this makes it easier to cut your letters out of the fabric because you can still see your tracing lines.
then, iron onto the BACK of your fabric.
(follow the instructions on the steam-a-seam packaging)


when that has cooled, cut out your letters.


and peel off the backing.


next, you will place your letters onto your shirt. the great thing about steam-a seam is that it is a little bit tacky on the back so you can place your letters, hold it up and look at it, and then replace them if you need to.


when you are happy with your letter placement, then you will iron your letters onto your shirt. 
(again, follow the instructions on the package.)


if you are not comfortable sewing, you could stop here and you would have a very cute shirt. 
the steam-a-seam will hold the letters on permanently.

i like to add the stitching around the letters because i think it gives it a nice finish.
if you are new to sewing, give it a try!
it's easier than it seems.
i promise!


here is my handsome man in his new christmas shirt!


"he had a broad face and a little round belly, that shook when he laughed, like a bowl full of jelly...."
ho ho ho! :)

Tuesday, December 21, 2010

christmas skirts - day 9 of the 12 crafty days of christmas

ok, this is for all of my sewing friends. 
and really, even if you think you can only sew a straight line, you can totally do this project!
because that's basically all it is. 
four straight lines of stitches with your sewing machine or serger.

This is what you will need:
about 1 to 1 1/2 yards of fabric
sewing machine or serger
coordinating thread
one package of 3/4 inch elastic
safety pin
iron and ironing board

first, decide about how long you would like your skirt to be.
i wanted my 7 year old's skirt to be around 15 inches long. so i took that number and added 4 inches to account for the hem and the amount to be turned over at the top to hold the elastic.
 then i cut two strips of fabric the entire width of the fabric (44 inches) that were 19 inches long.
i also trimmed off the selvage on each edge.
(that's the part of the fabric that has the manufacturers information printed on it)
one strip will be the front of the skirt; the other will be the back of the skirt.

can you tell i love this fabric!!!

next, place the right sides of the fabric together and match up the pattern if needed.


i used my serger for this project, but you can just as easily use your sewing machine.
the only reason i opted for the serger is that it leaves a finished edge on the inside of the skirt. 
believe me, i have made plenty of these skirts with a sewing machine and they turn out great!

so, once you have your two pieces matched up, you are going to sew two straight lines on each short side. you can really use any seam allowance. I usually go with 1/2 inch if i'm using my sewing machine.


so that's two straight stitches down...two more to go.

now, if you have a serger, go ahead and finish off the top and the bottom of the skirt like the picture below.
if you are using a sewing machine, you can just skip this step
or you can iron down about 1/4 inch of the fabric all the way around the top and the bottom of the skirt if you would like to have a finished edge inside the skirt.


next, you are going to iron your fabric down about 1 1/4 inch at the top
to make the pocket for the elastic to go in
and iron about 1 to 1 1/2 inch of fabric up from the bottom to make the hem of the skirt.


after you're done ironing, you will stitch the top and bottom of your skirt to secure your elastic pocket and your hem.
VERY IMPORTANT: remember to not go all the way around the top. leave yourself a little space to pull your elastic through. 
(see the picture below.)


ok, we're almost done!
measure your little girl's waist and cut a piece of elastic about 1- 1/2 inch larger. 
then, attach a large safety pin to one end.


thread your elastic through the pocket at the top of your skirt.


now we need to sew the elastic together. change your stitch type from straight to zig zag.
then sew your elastic together. 


i like to go back and forth a couple of times in an "n" shape just to make sure it doesn't come undone.
it doesn't have to be pretty! it will be hidden by your fabric!


once that's done, just place your elastic in the pocket and close up the opening for the elastic with your sewing machine.
when that is finished, even out your fabric around the elastic and you're done!!!

here are the ones i made for my girls. 


and here are my models!


and i couldn't leave my boy out so tomorrow i'll sew up a  little something for him!

Sunday, December 19, 2010

ornament gift tags - day 8 of the 12 crafty days of christmas

i'll let you in on a little secret....i'm a procrastinator.
a life long procrastinator...
so that usually means i'm wrapping presents for christmas on christmas eve. lots of them.

i've always loved beautifully wrapped presents with gigantic bows and pretty gift tags, but when you're in a frenzy wrapping presents the night before, little sticker tags are about all you can pull off. 

this year, i thought it would be nice to make some gift tags BEFORE my last minute wrapping session so at least i'd have that element on the gifts. 

maybe i'll work on adding the bows next year... :)

here is what i used.


my cricut (this is what i used to cut my shapes because it is faster, 
but you could use a paper punch or hand cut them too)
pretty paper
glue
twine
and a thin sharpie.

i cut 1 1/2 inch squares with some curved edges out of tan cardstock to make the top of the ornaments and 3 inch circles out of different colorful paper for the ornaments.


then i folded the squares in half and drew some thin black lines on the front to look like the top of the ornament.


i then cut a small slit in the fold of the ornament top.
i cut a piece of twine about 8-10 inches long and thread both ends through the hole.
after that i glued the inside of the ornament top.
i placed the circle inside and then press closed.


pretty simple once you get all the pieces cut.
and really cute!

i think these will look great on my presents this year!!!


Saturday, December 18, 2010

ribbon candy ornaments - day 7 of the 12 crafty days of christmas

if you guys haven't read this about me already, i'm kind of obsessed with fabric.
particularly quilting fabric and the people who design these beautiful, colorful textiles.
one of the first designers whose fabrics i fell in love with is Sandi Henderson.
her fabrics are unquestionably beautiful, but she also has a wonderfully inspirational blog.
this next craft is one i saw on her blog last year and was determined to try this year.
(the funny thing is, it doesn't use any fabric!)

ok, so today we are going to make ornaments that look like the ribbon candy you so often see around the holidays.

here is what you will need:

ribbon (any kind of striped colorful ribbon), felt (in coordinating colors), embroidery six-strand floss, spray adhesive, glass or plastic beads in coordinating colors, fray block or a lighter, and needle

first, cut a length of ribbon about 12 inches long. use the fray block or a lighter to finish off the edges of your ribbon to keep them from fraying. then trim a piece of the coordinating felt to the same size as your ribbon. 


i just cut down the side of the ribbon to get a matching piece of felt

Once you have your ribbon and felt cut, spray one side of your felt with your spray adhesive and then attach your felt to your ribbon. Use your fingers to smooth out any bumps.


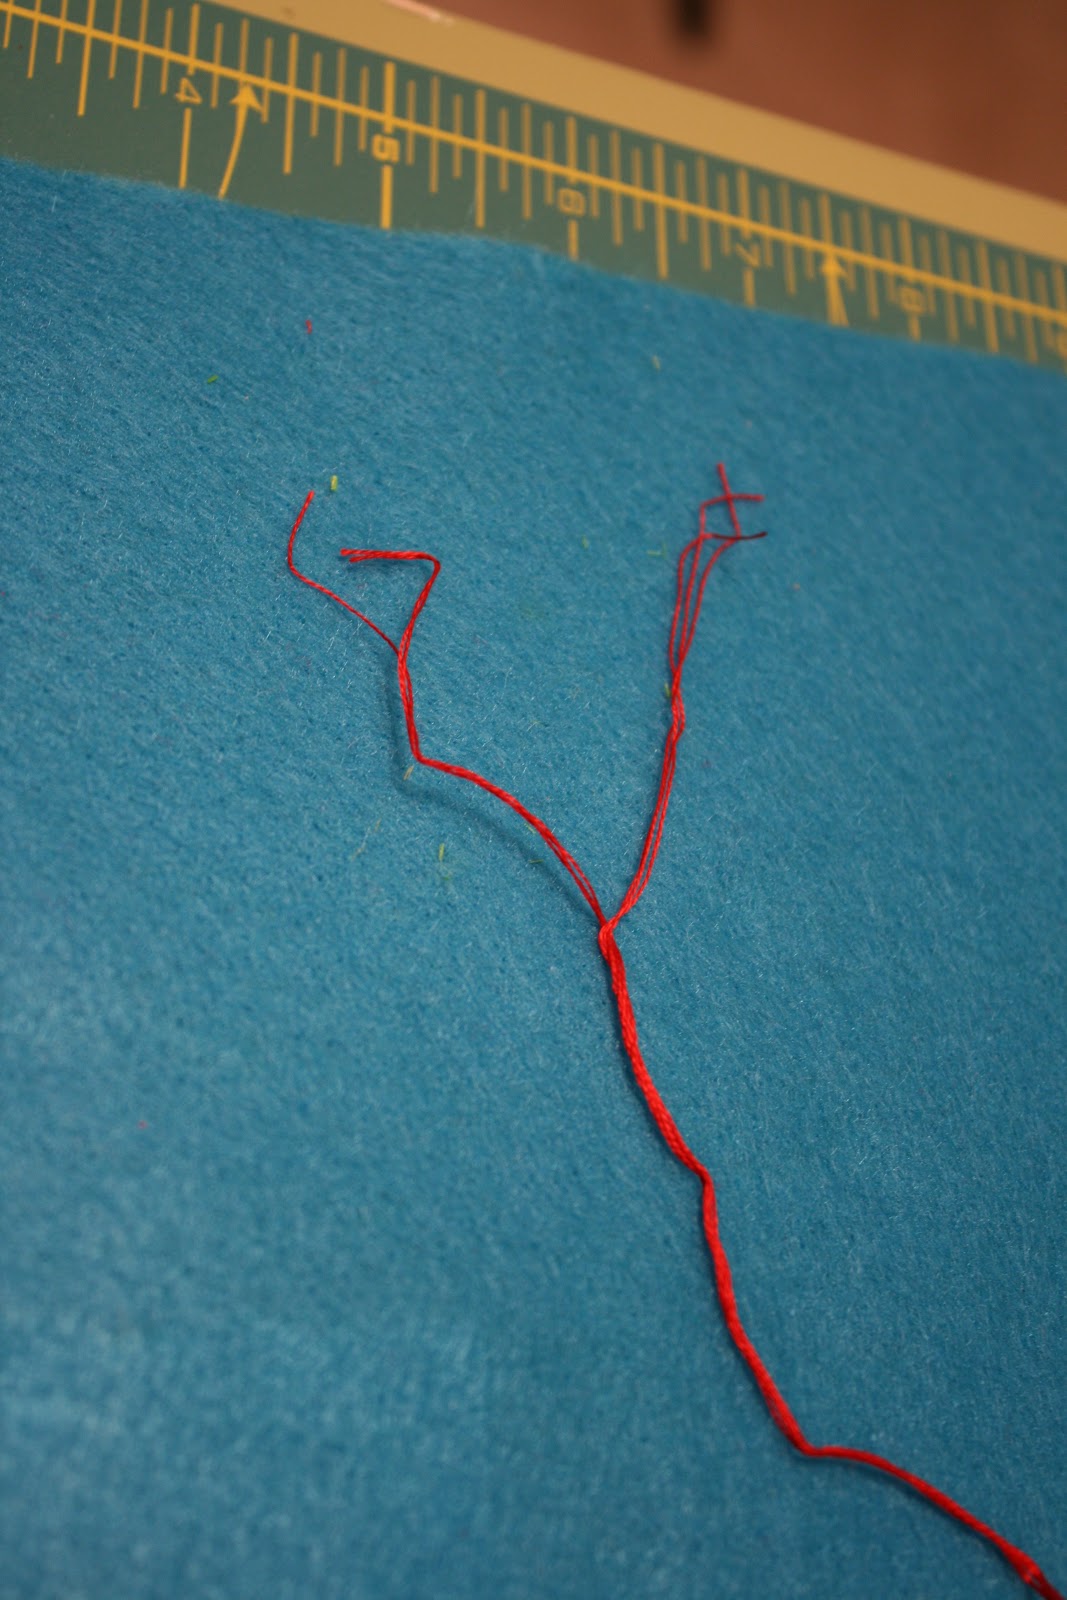
next, take your six strand floss and cut a piece about 14" long. then separate three strands out. we're only going to use three of the six strands. thread them onto your needle and tie a knot in the end.


now, start on the ribbon side about 1/2" from the end. pull your needle through and then thread on one bead. the beads act as spacers between the folds.
then measure down about 1" from where your thread came through the felt side and pull your thread through from the felt side to the ribbon side. thread on another bead then measure down another 1".
continue doing this until you've gotten to the end of your ribbon.


 the important part of this step is to try to keep all of your folds as even as possible.
if you have any straggling ribbon left over, you can trim it off and finish the ribbon off again.
(i confess, i had to do that on one of mine...)

after you've sewn through your ribbon, you're going to push your ribbon down the thread so it looks like a piece of ribbon candy.
then tie a knot to secure your ribbon and use the extra thread to make a loop to hang it from the tree.
i also added a smaller piece of ribbon at the top to make a bow.


so sweet! (ha ha! pun intended!)

please visit sandi henderson's blog if you get a chance.
she has a very beautiful free tutorial over on the sidebar for this project plus many other projects you might like to try. 


Thursday, December 16, 2010

cinnamon candy - day 6 of the 12 crafty days of christmas

who else loves hot tamale candy?
i do! 
this cinnamon candy tastes just like them and is one of my favorite christmas treats.

for the past several years, i have been making cinnamon candy for teacher christmas gifts.
right after i married my husband, my mother-in-law showed me how to make cinnamon candy. she makes it every christmas. :)
 at first it looked intimidating so i didn't try it for a few years. but after i had 3 children in preschool and multiple teachers, i started thinking that making candy might be an affordable way to give a really special gift to my kids' special teachers. 
so i tried it and i figured out that it's actually pretty easy to do.
you should try it too!

here's what you need:

the recipe is inside the lorann gourmet cinnamon oil package.


here it is:
2 cups granulated sugar
2/3 cup light corn syrup
3/4 cup water
1/2 tsp of red food coloring
(there is also a recipe for a double batch if you need to make a lot! 
it isn't double these measurements so be sure to check the package.)

you will also need:
a candy thermometer
a jelly roll pan
pam
wax paper
powdered sugar
and kitchen scissors

first, combine the granulated sugar, the corn syrup and the water and stir together over medium heat until the sugar dissolves.


then, turn up the heat to high and bring to a boil without stirring. This is where you start watching your thermometer.


when your syrup temperature reaches 260 degrees, add your red food coloring.

do not stir, the rolling boil will incorporate the color into the syrup.


now just watch your thermometer closely because the temperature rises quickly at this point.
when your thermometer reaches 300 degrees (hard crack), remove your pot from the heat.
to test if it's ready, you can drop a little syrup off of a spoon into a glass of cold water. if the syrup forms hard, brittle threads, it's good to go!


wait until the syrup stops boiling, then add your dram of cinnamon oil and stir.


WARNING: 
as you stir the cinnamon oil into the syrup it will steam
(see the picture above)
and that steam can sting your nose and throat.
just be really careful and go slow.
i find that the steam bothers me the most when i pour it out onto my pan so just be aware and take a deep breath before hand, and it should be ok. 
also, the oil can get on your hands so try not to touch your face or lick your fingers. 
because it's cinnamon oil, it's HOT!

after you stir your flavoring in, pour the syrup onto a greased jelly roll pan. (i spray mine with pam.) 


now you will wait until it cools down enough to cut into strips with your kitchen scissors.


you don't want to let it cool too much because then it will break into little shards. 
as you cut the strips, place them onto wax paper that is covered with the powdered sugar.


after these strips cool, you can easily break the strips into little bite-sized pieces.


the powdered sugar keeps the pieces from sticking together and also adds a fun element to the candy.
it almost looks like it's been snowed on!


it's also important to store your candy in an air tight container. if you leave it out, it will get all sticky.

i really hope my kids' teachers enjoy their little treat this year. 
and hopefully, some of you will enjoy this treat too!

(special thanks to my wonderful hubby for being my model while i took pictures!)

again, if you ever have any questions, 
please leave a comment or email me at sewannadesigns (at) gmail (dot) com.

i would love to hear from you!!!