
if you guys haven't read this about me already, i'm kind of obsessed with fabric.
particularly quilting fabric and the people who design these beautiful, colorful textiles.
one of the first designers whose fabrics i fell in love with is Sandi Henderson.
her fabrics are unquestionably beautiful, but she also has a wonderfully inspirational blog.
this next craft is one i saw on her blog last year and was determined to try this year.
(the funny thing is, it doesn't use any fabric!)
ok, so today we are going to make ornaments that look like the ribbon candy you so often see around the holidays.
here is what you will need:

ribbon (any kind of striped colorful ribbon), felt (in coordinating colors), embroidery six-strand floss, spray adhesive, glass or plastic beads in coordinating colors, fray block or a lighter, and needle
first, cut a length of ribbon about 12 inches long. use the fray block or a lighter to finish off the edges of your ribbon to keep them from fraying. then trim a piece of the coordinating felt to the same size as your ribbon.

 |
| i just cut down the side of the ribbon to get a matching piece of felt |
Once you have your ribbon and felt cut, spray one side of your felt with your spray adhesive and then attach your felt to your ribbon. Use your fingers to smooth out any bumps.

next, take your six strand floss and cut a piece about 14" long. then separate three strands out. we're only going to use three of the six strands. thread them onto your needle and tie a knot in the end.
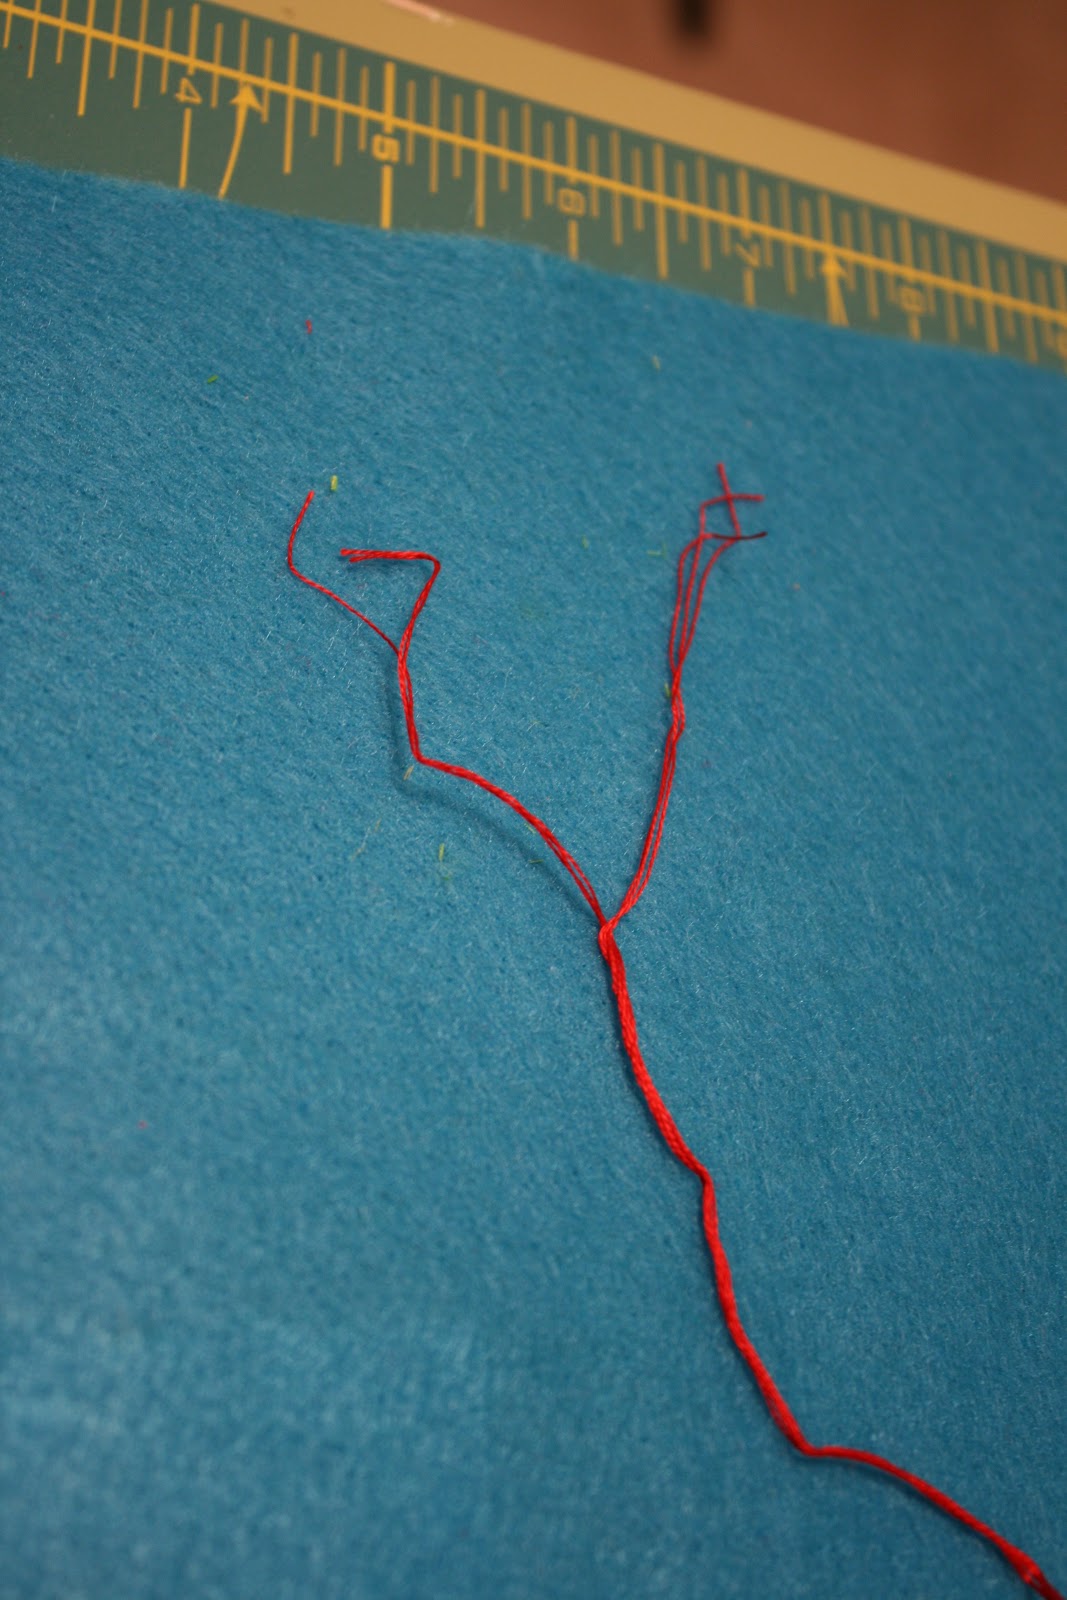
now, start on the ribbon side about 1/2" from the end. pull your needle through and then thread on one bead. the beads act as spacers between the folds.
then measure down about 1" from where your thread came through the felt side and pull your thread through from the felt side to the ribbon side. thread on another bead then measure down another 1".
continue doing this until you've gotten to the end of your ribbon.


the important part of this step is to try to keep all of your folds as even as possible.
if you have any straggling ribbon left over, you can trim it off and finish the ribbon off again.
(i confess, i had to do that on one of mine...)
after you've sewn through your ribbon, you're going to push your ribbon down the thread so it looks like a piece of ribbon candy.
then tie a knot to secure your ribbon and use the extra thread to make a loop to hang it from the tree.
i also added a smaller piece of ribbon at the top to make a bow.

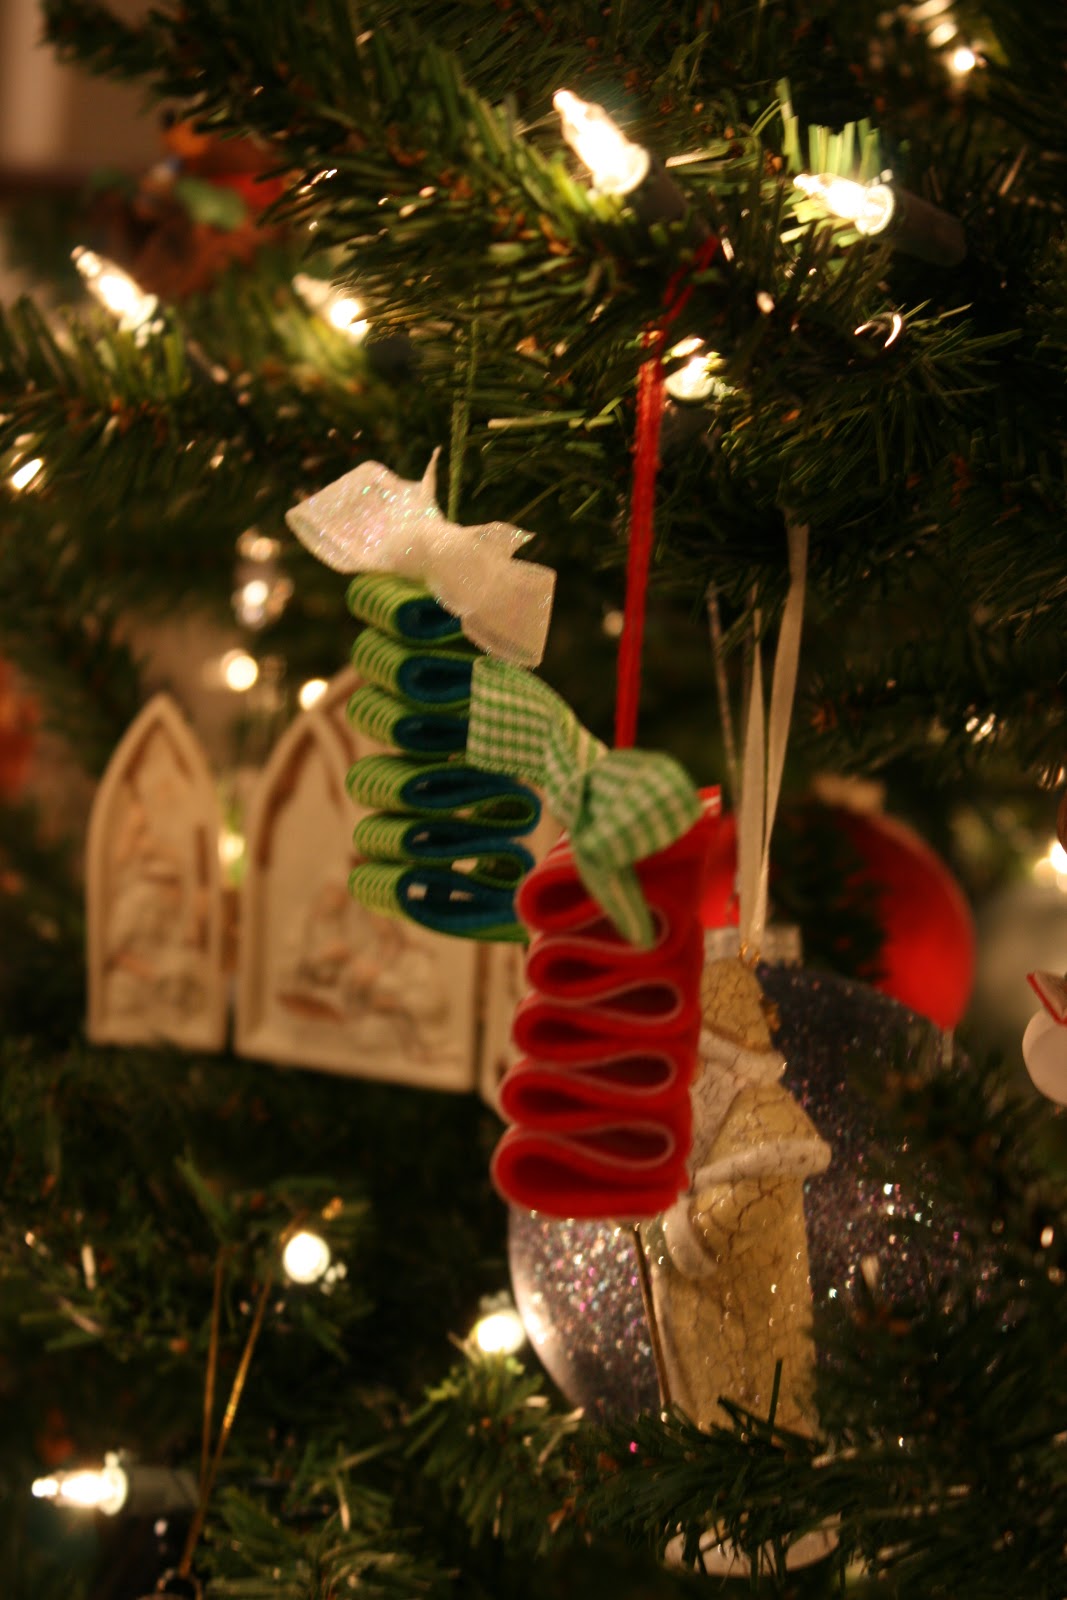
so sweet! (ha ha! pun intended!)
please visit sandi henderson's blog if you get a chance.
she has a very beautiful free tutorial over on the sidebar for this project plus many other projects you might like to try.


0 comments:
Post a Comment